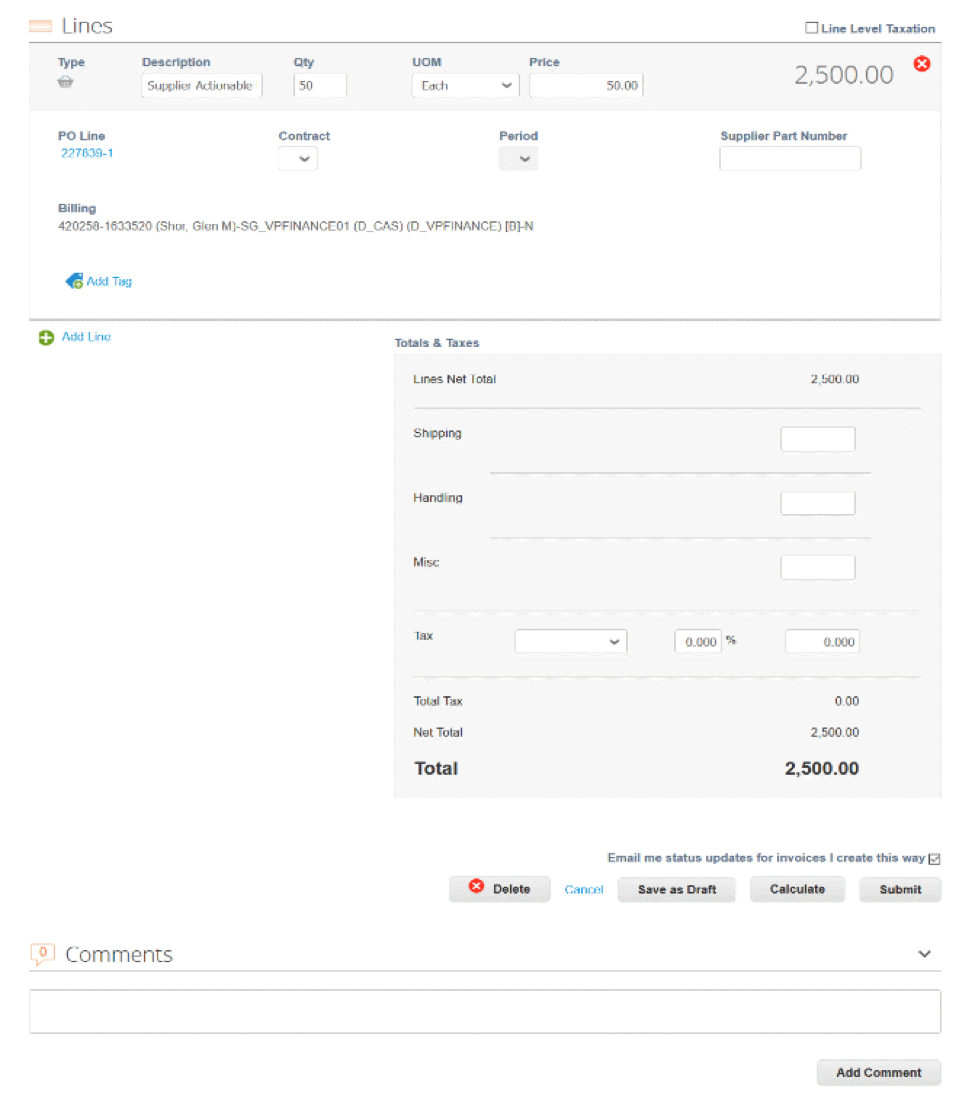
The details of the PO are displayed in the Lines section of the invoice
- If the invoice is only for part of the order, please change quantity (for goods) or amount (for services) to indicate the current amount due.
- Add any additional charges to the Shipping, Handling, and Misc. boxes.
- MIT is exempt from sales tax. Do not add an amount in the tax field.
- Once the invoice is completed, click on Submit.
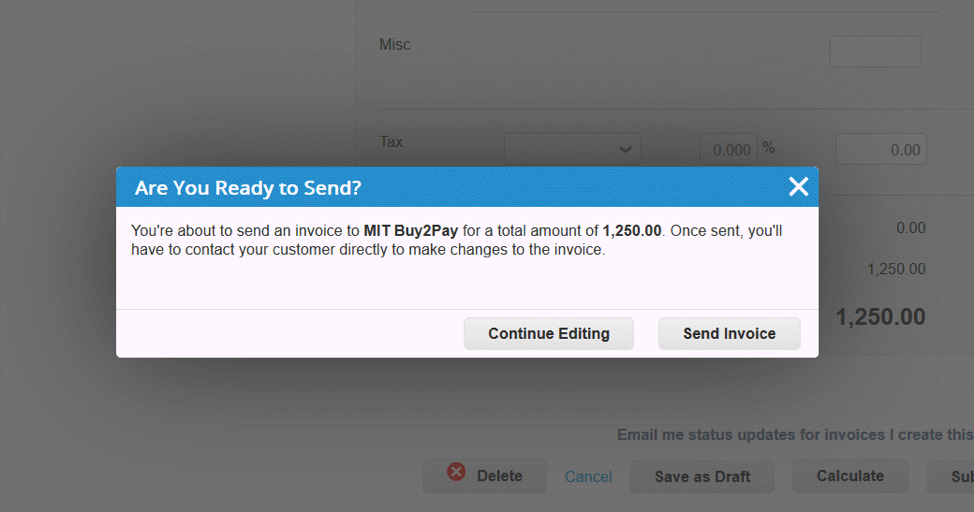
You will then see a confirmation window. Click on Send Invoice.
The Details
The details of the PO are displayed in the Lines section of the invoice
- If the invoice is only for part of the order, please change quantity (for goods) or amount (for services) to indicate the current amount due.
- Add any additional charges to the Shipping, Handling, and Misc. boxes.
- MIT is exempt from sales tax. Do not add an amount in the tax field.
- Once the invoice is completed, click on Submit.
You will then see a confirmation window. Click on Send Invoice.